Table of Contents
Basic editing in Kino (using the Edit mode) is mainly a subtractive process. This means you add clips and then subtract the parts you do not want. This works well for many users who just want to trim the fat from their home videos or television recordings. In contrast, an advanced form of editing, 3-point insert editing in trim mode ( Chapter 8, Trim (Advanced Editing) ), lets you choose a part of a clip before adding it to the project. This additive form of editing is more appropriate for making a more heavily edited or composed project.
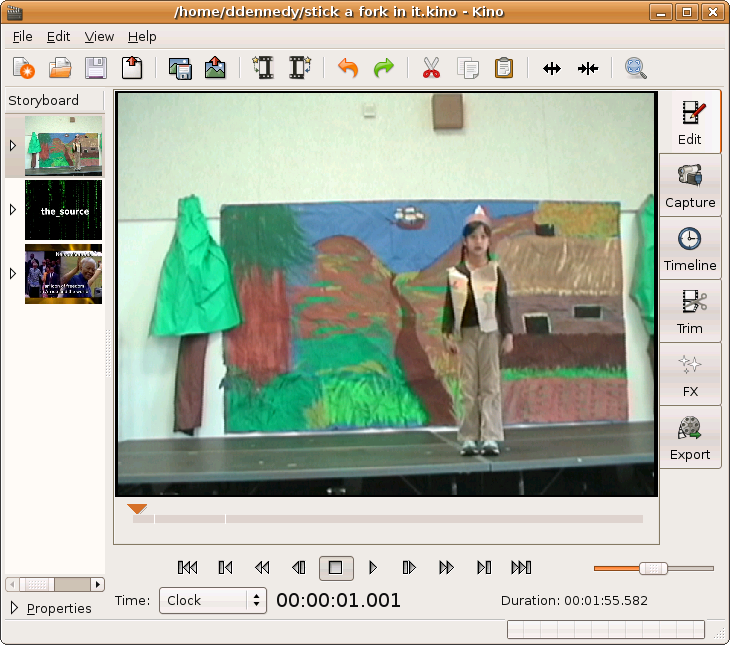
Kino does not let one make a selection prior to making an edit like a word processor or many other desktop applications. Rather, Kino extensively uses the concept of a scene ( Section 2.2, “Scene” ) and the Storyboard view. Kino automatically creates a new scene when you add a clip and for any timecode discontinuity it detects within the loaded clip. Then, any edit operation that deletes one or more frames creates a new scene. Also, one can make a new scene by choosing -> .

Conversely, one groups two scenes together into one scene by choosinig -> .

Therefore, if you want to work in a selection- like mode use -> to mark the beginning and end. Then, execute an editing command -- -> or -> -- that applies to the entire scene.


If you copied a scene to the clipboard, then click a scene in the Storyboard, and choose -> to insert the scene from the clipboard.
